


As one of the most popular design tools for businesses in every industry, it’s vital to understand the Canva real estate platform. It helps agents with content creation, branding, photo editing, and print marketing. My team and I use Canva frequently, so I’ve gathered important details for agents and brokers to understand the benefits of Canva, how it works, and how they can personally use it to grow their business.
What is Canva?
Canva is a popular, easy-to-use, and versatile graphic design tool. In fact, it is the go-to design tool for real estate agents looking to create professional marketing materials quickly. Whether you want to create a custom property flyer, a variety of branded social media posts, or anything in between, Canva offers templates, editing tools, and sharing tools to make your life easy.
Benefits of Canva for Realtors
There are so many great tools and reasons to use Canva for various real estate agents’ or teams’ needs. Canva is even used by Fortune 500 companies like FedEx, L’Oréal, Salesforce, Coca-Cola, McDonald’s, Nike, Zoom, and Sony.
Here are just a few of the main benefits of Canva for real estate agents:
- User-friendly: The interface is highly intuitive, so there is almost no learning curve. Editing and creating graphics, photos, and videos is easy, even without previous design experience.
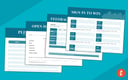
- Huge library of templates: There are more than 610,000 templates, including general templates for documents and social media and specific needs like “Just Sold” flyers or newsletters.
- Custom branding kit: You can build your branding kit to include colors, fonts, and logos to keep your brand consistent across each type of content.
- Extremely versatile: You can use Canva for a variety of projects, like Instagram posts, reels, social media images, email headers and signatures, marketing presentations, brochures, flyers, and the list goes on.
- Great bang for your buck: Canva offers a free forever plan, but the Pro plan, at only $10 per month, is still incredibly affordable and provides a wealth of additional tools and design elements.
- Team collaboration: The individual plan has sharing options to collaborate with others, and the team plan enhances these tools with built-in collaboration features.
- Various simple and advanced editing tools: Choose from the simplest editing options, like adding text and changing the font and color. In addition, there are more advanced effects, such as background removers and AI integrations.
How to Create Your Canva Real Estate Account
If you don’t already have a Canva account, simply sign up on the Canva website. The basic plan is free; although there are limitations, you’ll never have to pay for anything. However, I highly recommend investing in the paid version, which provides hundreds of thousands more templates, elements, fonts, and effects. Plus, you can try Canva Pro free for 30 days.
If you are working as part of a larger team of real estate agents or are part of a real estate brokerage firm, Canva Teams is another valuable option to consider. The Teams plan, which is only $100 per year per person, allows several members to access the same Canva account, which keeps branding consistent across everyone’s designs and organizes your files and documents.
Visit CanvaExamples of How to Use Canva for Real Estate
For real estate agents, Canva is one of the most powerful and versatile marketing tools available. Here are various real estate designs and templates to help you get ideas of how you could use Canva to create professional marketing materials:
- Real estate postcards
- Real estate flyers (i.e., listing flyers, event invitations, or open house flyers)
- Real estate brochures
- Real estate newsletters
- Real estate infographics
- Social media templates
- Door hangers
- Yard signs (i.e., open houses or sold signs)
- Real estate email templates
- Email signatures on email drip campaigns
- Listing presentations
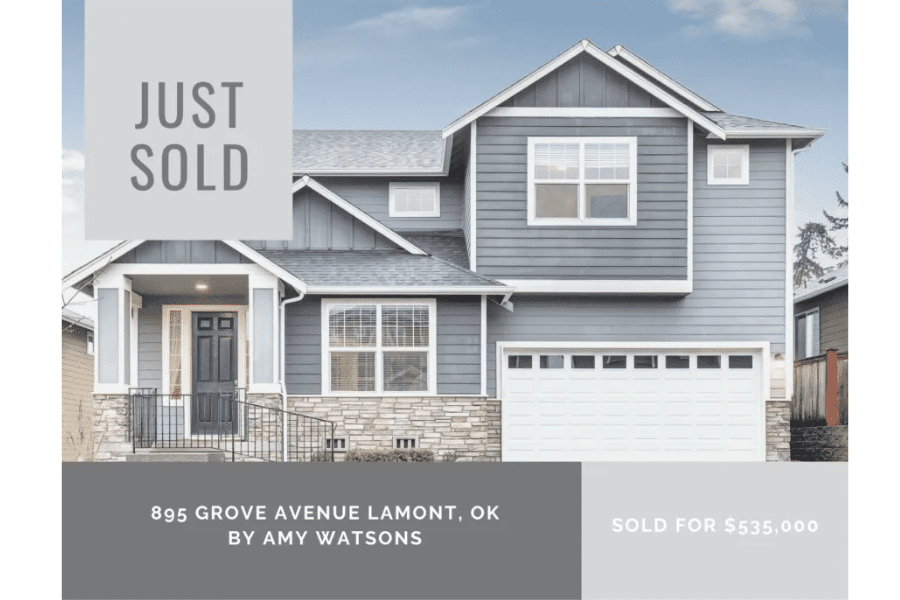
“Just Sold” postcard template (Source: Canva) 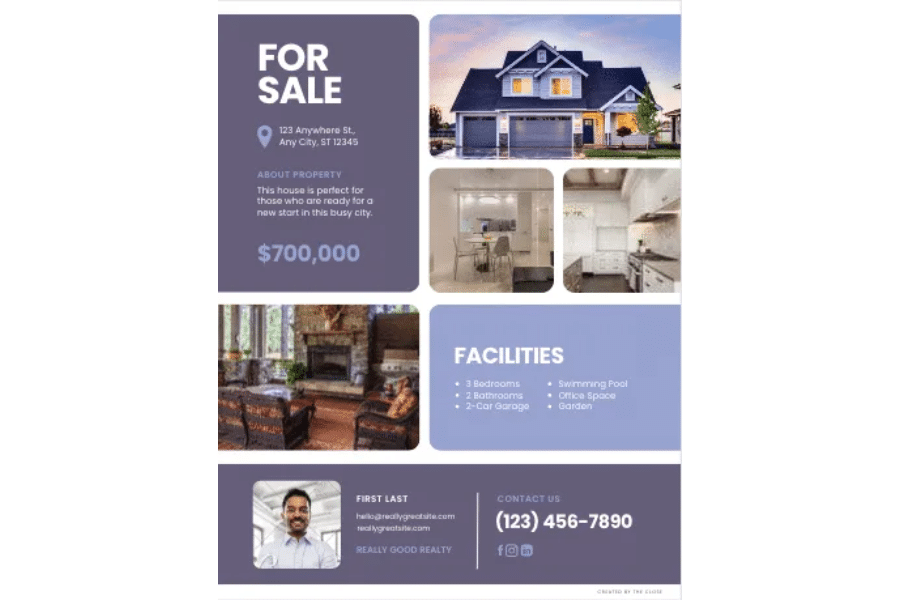
“For Sale” listing flyer template (Source: Canva) 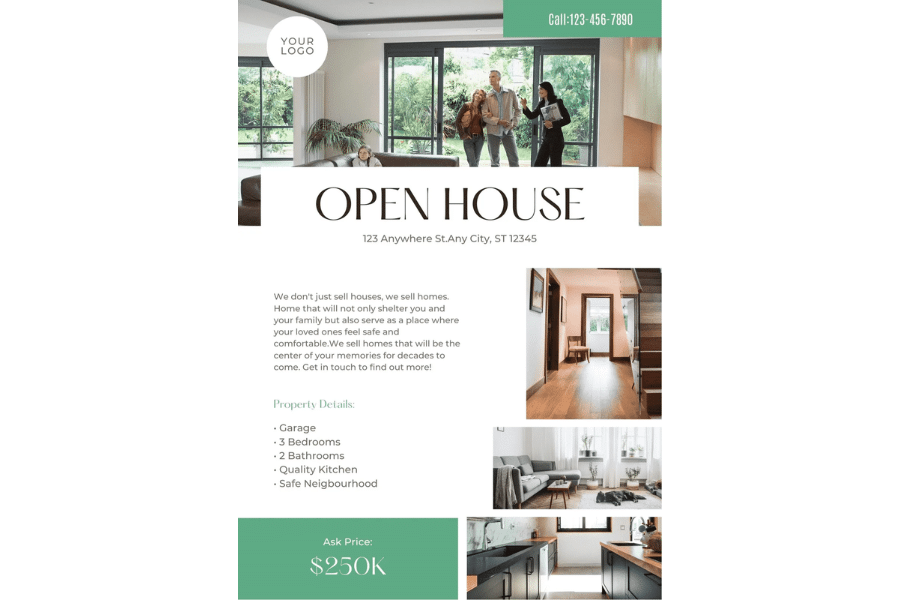
“Open House” flyer template (Source: Canva) 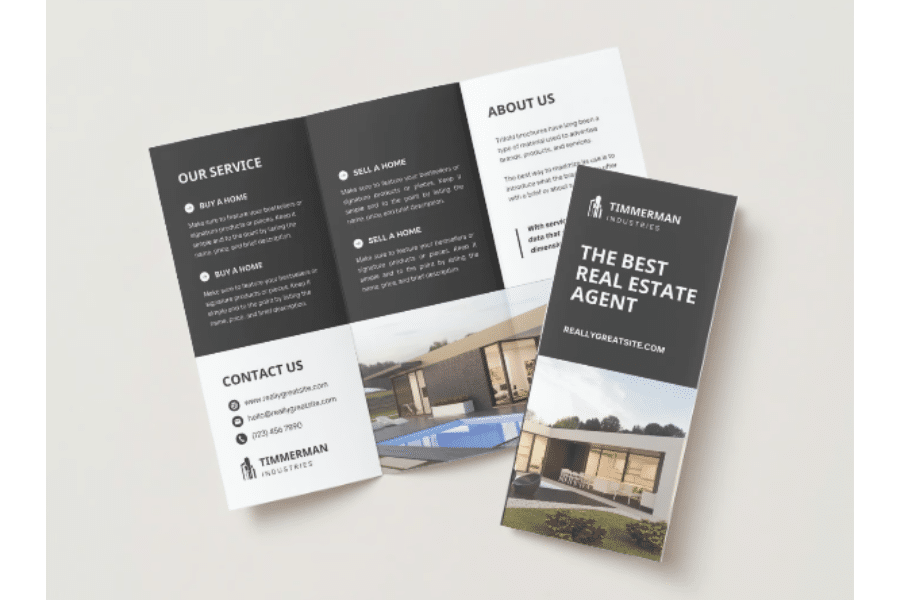
Bifold real estate brochure template (Source: Canva) 
Canva real estate newsletter template (Source: Canva) 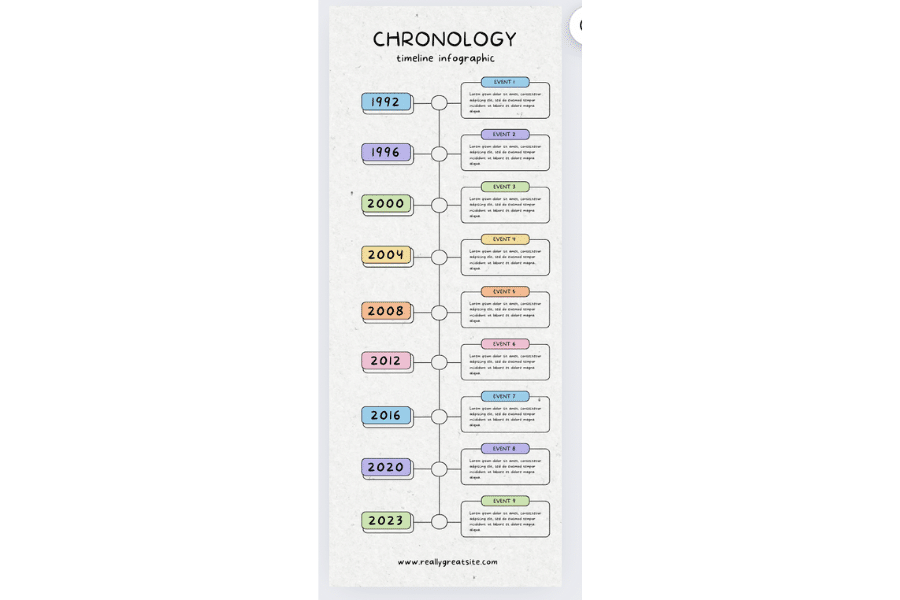
Canva infographic template from The Close 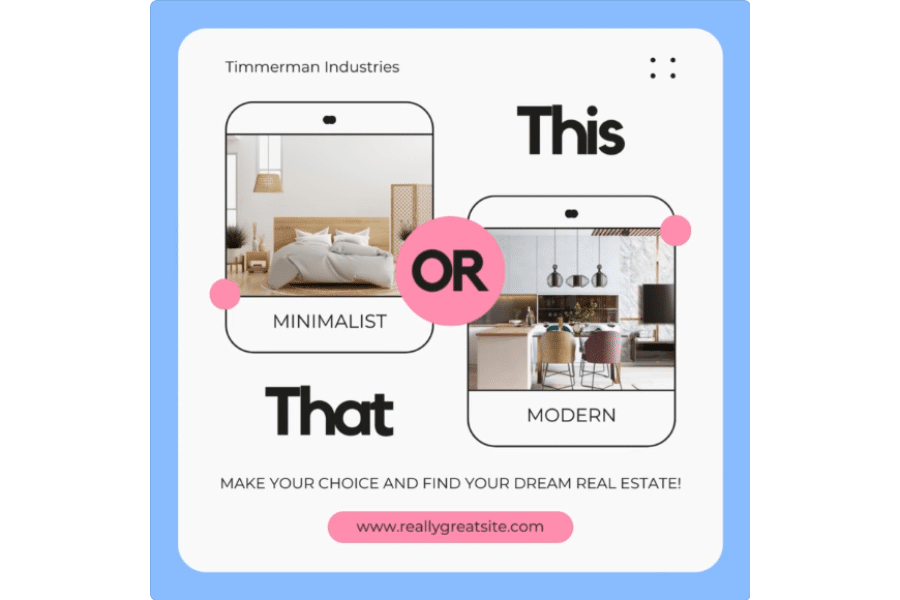
“This or That” real estate social media post (Source: Canva) 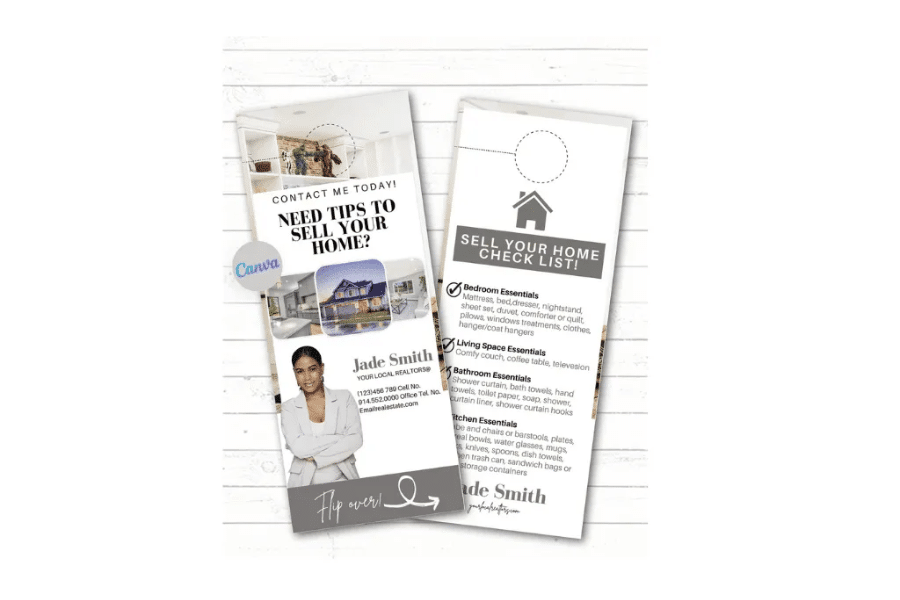
Door hanger template from Canva (Source: RealtorTemplateCo) 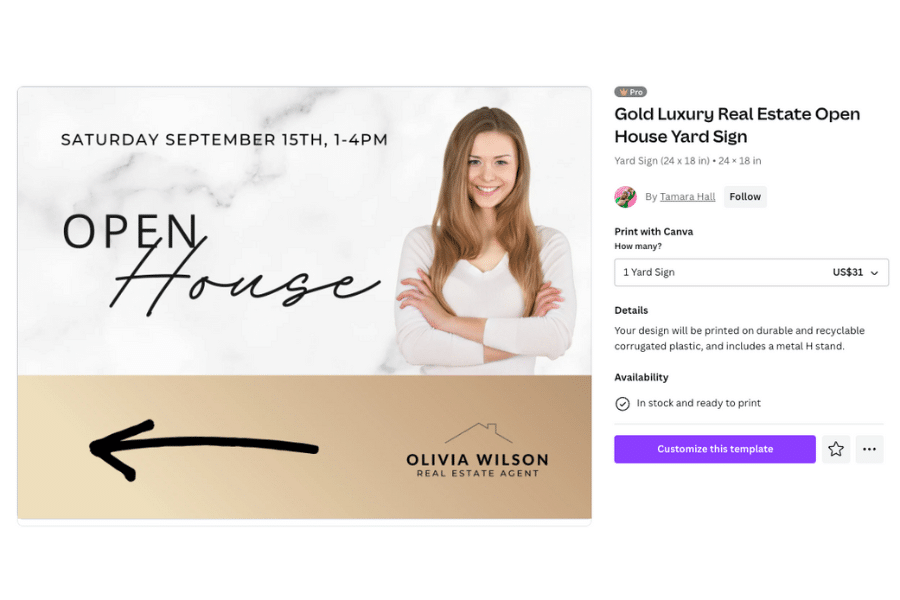
“Open House” yard sign template (Source: Canva) 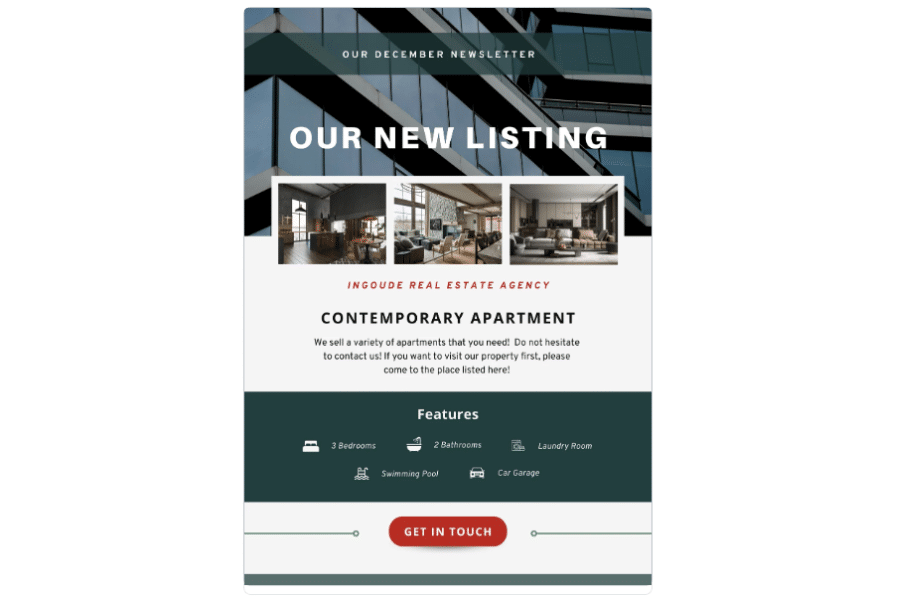
Email marketing template (Source: Canva) 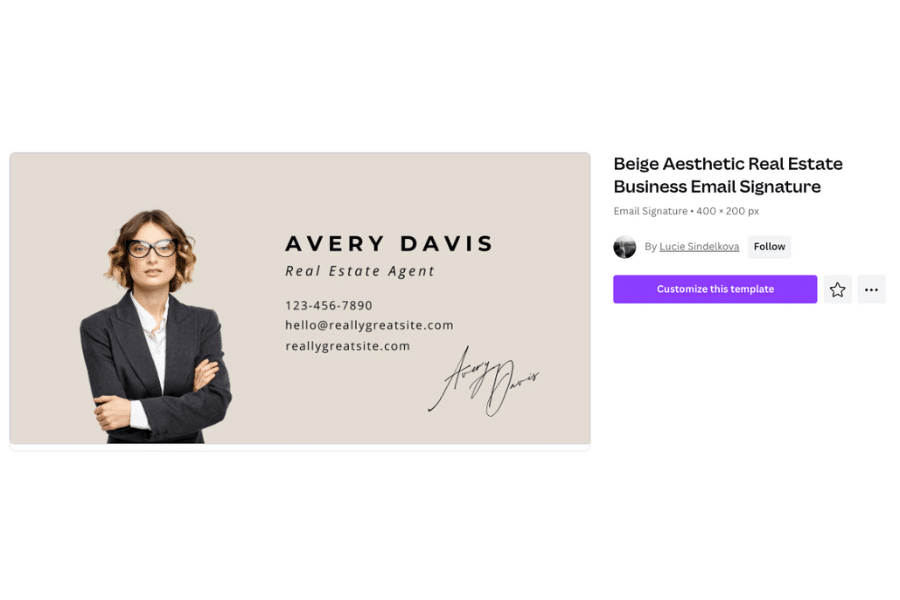
Real estate agent email signature template (Source: Canva) 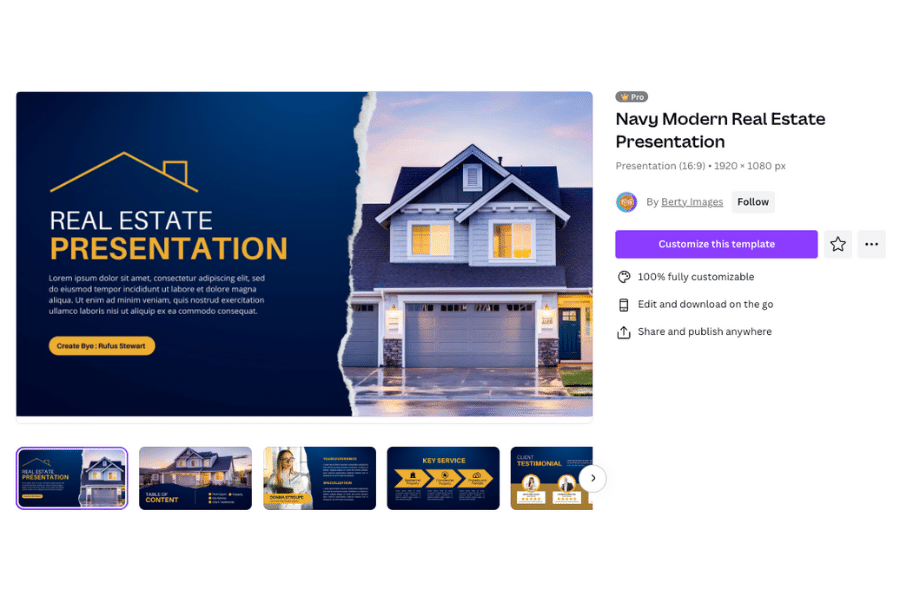
Canva real estate listing presentation template (Source: Canva)


Canva Hacks for Realtors + Important Tips
Canva is a highly user-friendly platform, but some users miss important features that can help them create more professional materials more efficiently. Here are just a few of the most important Canva hacks for realtors.
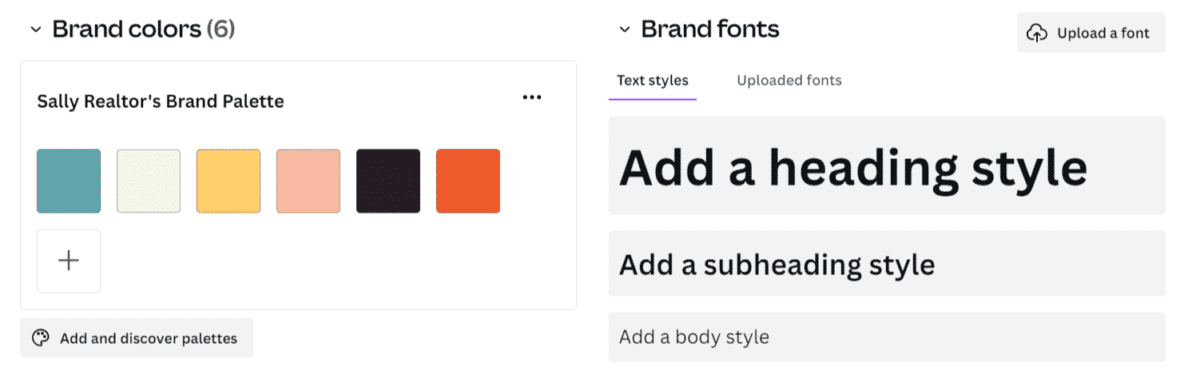
Hack 1: Create & Customize Your Brand Kit
One of Canva’s best features is its brand kit, which allows you to compile all of your branding elements together and easily apply them to each piece of content you create. When building brand recognition, it’s especially important for your social media content, print materials, and website to have the same design elements. Think of the golden arches for McDonald’s or the blue and white “Z” for Zillow.
The Brand Kit is only available on the Canva Pro account, but it is a feature that can save you hours and instantly improve your content. The elements you can include in your brand kit are as follows:
- Logo
- Brand colors
- Fonts (for titles, subtitles, headings, and subheadings)
- Brand voice
- Photos
- Graphics
- Icons
Hack 2: Explore Canva Templates & Elements
Canva currently has over 100 million images, videos, and graphics on its platform, all available to Canva Pro users. With that much volume, searching for a new template can become time-consuming every time you start a new design. Instead, I recommend setting aside a few hours to explore Canva and saving your favorite templates and elements so they are ready to use when needed.
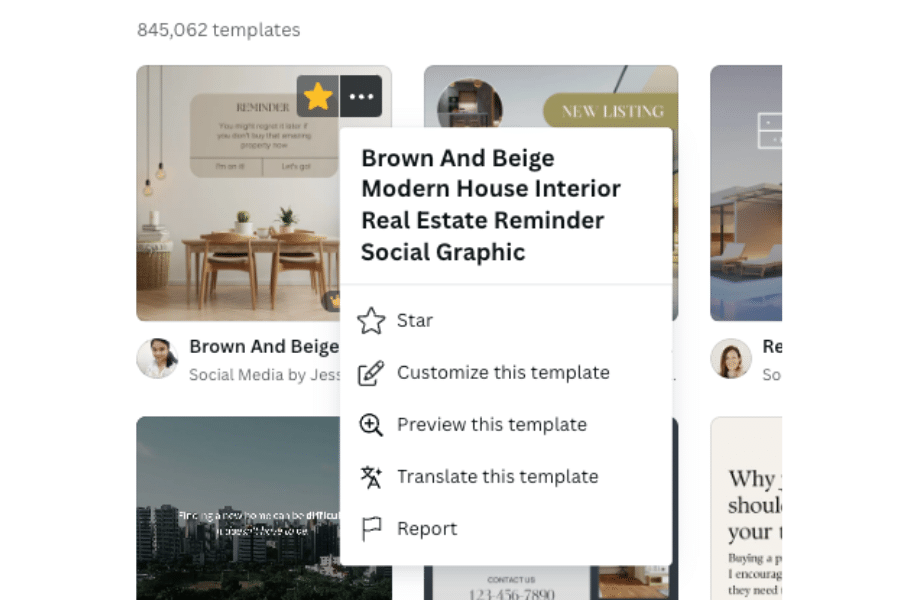
As you browse the templates (like social media graphics or postcards), you can “star” them so they will be automatically saved in the built-in “starred” folder. For elements (like graphics, photos, or frames), you can star them or save them to a specific folder to use at a moment’s notice.


Hack 3: Organize Your Designs in Folders
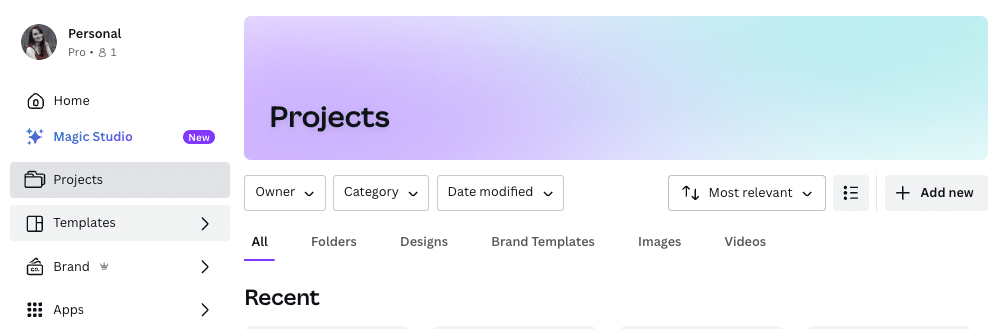
Although you probably won’t create millions of designs, Canva’s real estate tools allow you to use the platform for a wide variety of marketing strategies. It probably won’t take you very long to create an overwhelming number of designs—but you don’t have to scroll through your past designs every time you need something. The “projects” section of Canva is where you can create separate folders for each project.
For example, create folders for your listing marketing strategy, printed marketing tools, logos, and social media posts. Just visit your dashboard’s “Projects” section to view your saved content.
Hack 4: Upload Your Headshot & Remove the Background
One of the best Canva real estate tools is the background remover, which I emphatically suggest you use for your headshot. There are many ways to use this effect, but none will be as useful as removing the background of your headshot. Here are the easy steps to remove the background:
- Click on “Create a Design” from the Canva homepage and click on “Custom Size.”
- Enter the dimensions of your headshot and click on “Create New Design.”
- Click “Upload Media” to upload your headshot.
- Add your headshot image to the design.
- Click on “Edit Image” and “Effects,” then select “Remove Background.”
- Download your image and make sure to click “Transparent Background.”

With a version of your headshot saved with a transparent background, you can easily add your headshot to any document or graphic. In fact, you can even add this image to your branding kit so that your headshot and logo are automatically available and ready for every design.

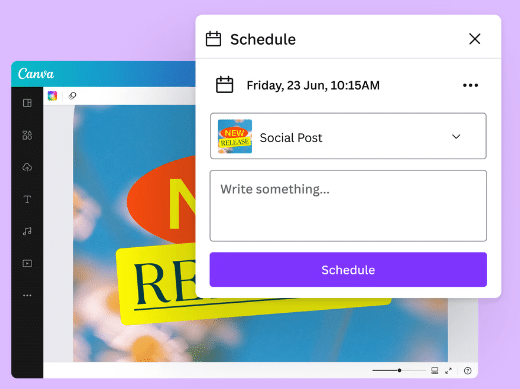
Hack 5: Use the Content Planner to Schedule Content for Social Media
The Content Planner is another Pro plan feature that allows you to automatically post your designs to social media on a set schedule. You can create all your social media designs at once, schedule them to post at the optimal time, and get back to serving your clients and closing transactions.
For example, if you want to post a real estate statistic every Monday afternoon, you can schedule it days or weeks in advance. Canva connects with most of the major platforms, including the following:
- Instagram for business
- Facebook page
- LinkedIn profile
- LinkedIn page
- Slack
- Tumblr
FAQs
Yes, Canva for real estate agents is one of the best tools available. A large majority of agents, teams, and brokerages use Canva to create dynamic marketing materials with consistent branding across all platforms.
Canva’s Content License Agreement allows you to use both Canva Free and Pro content to design and sell products, like templates, posters, flyers, t-shirts, stickers, e-books, and magazines. For more details, see Section 5 of the Canva Content License Agreement.
The easiest way to create a Canva real estate flyer is to use one of its real estate flyer templates. Simply search “real estate flyer” in the search bar and select a design you like. If you already have all your branding elements in your brand kit, you can easily apply them to the design. Then you can use the intuitive editing tools to customize the text and images.
Bringing It All Together
Canva is an incredible design tool for real estate agents at every level, including those without design experience. The platform simplifies the process of creating custom marketing pieces to use on social media, in email marketing, for presentations, and even in print marketing, like flyers and door hangers. Using Canva for real estate is an absolute no-brainer.
Do you use Canva and have a hack you want to share? Let us know about it in the comments below!
Visit Canva